Make mismatched bulbs and fittings work together with quality lamp holders and socket adapters. Explore E27, E14,...
Search in blog
Blog categories
Latest posts

Bulb Holders & Adapters: the ultimate UK guide to getting the right fit
Read more

DIY Guide: Installing LED line® EasyFix Round Panel Downlights Read more
Effortless, flicker-free lighting for every room. Discover how to install LED line® EasyFix round panel downlights in...

MiBoxer vs Sunricher — Which Smart Lighting Fits You? Read more
In-depth UK comparison of MiBoxer (2.4G RF, Zigbee, Wi-Fi/BLE, LoRa, Matter) and Sunricher (Zigbee, DALI/DMX, BLE...

How to Light Your Stairs with LED Kits | Guide Read more
Discover how LED stair lighting kits improve safety and add style. Our UK guide covers planning, parts, installation...

Clear Answers for UK Homes & Trade Read more
Got questions about LED lighting? You’re not alone. This FAQ answers the most common queries we receive about...
Popular posts
")
Why do LED lights flicker on camera? How to stop light flickering in a video? (Guide)
When seen through a camera lens, sometimes it seems like an LED light bulb is flickering quickly at regular intervals...
Read more
How to wire a light switch
Electricity projects can be tricky and difficult for many people but some of them are easy to do like wiring a light...
Read more
What is Tuya Smart app and what it can do?
Tuya Smart application is necessary for wireless control using a phone or tablet. Tuya provides a leading global IoT...
Read more
Choosing the correct size cable
When we are building or renovating our electrical system, one of the biggest doubts we can run into is choosing the...
Read more
UV light and viruses
Ultraviolet light has been used for many decades to provide lighting options and other industrial applications....
Read moreFeatured posts
Bulb Holders & Adapters: the ultimate UK guide to getting the right fit
Make mismatched bulbs and fittings work together with quality lamp holders and socket adapters. Explore E27, E14,...
Read more DIY Guide: Installing LED line® EasyFix Round Panel Downlights
Effortless, flicker-free lighting for every room. Discover how to install LED line® EasyFix round panel downlights in...
Read more MiBoxer vs Sunricher — Which Smart Lighting Fits You?
In-depth UK comparison of MiBoxer (2.4G RF, Zigbee, Wi-Fi/BLE, LoRa, Matter) and Sunricher (Zigbee, DALI/DMX, BLE...
Read more How to Light Your Stairs with LED Kits | Guide
Discover how LED stair lighting kits improve safety and add style. Our UK guide covers planning, parts, installation...
Read more Clear Answers for UK Homes & Trade
Got questions about LED lighting? You’re not alone. This FAQ answers the most common queries we receive about...
Read moreBlog tags
Photo gallery
-

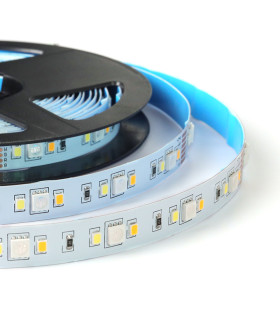
LED Lighting Colour Temperature Comparison
-

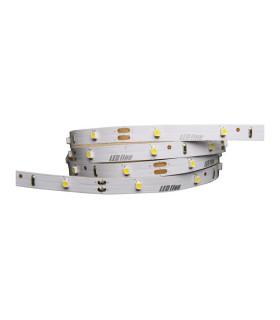
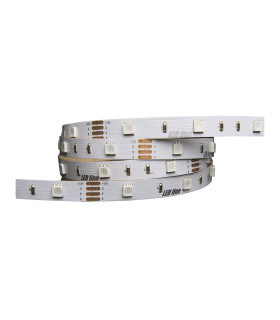
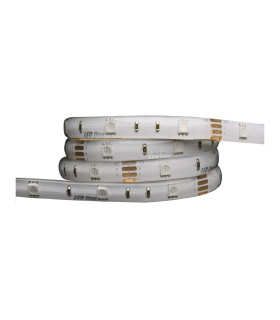
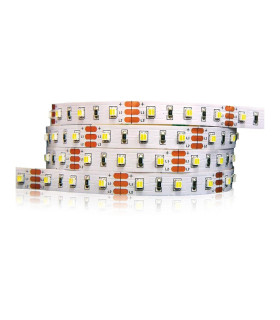
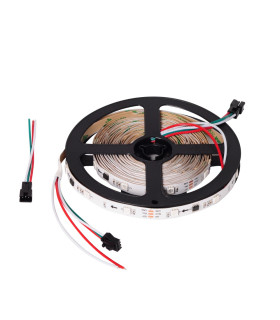
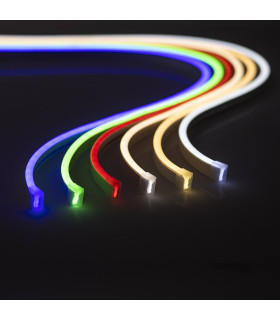
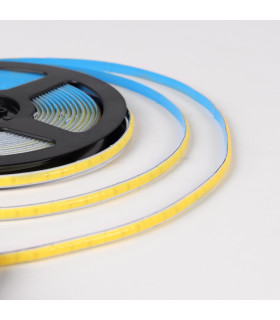
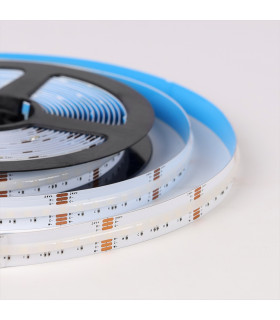
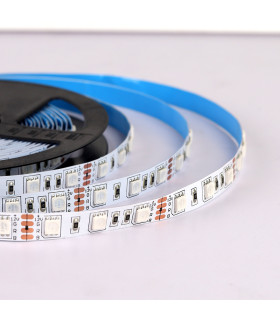
Flexible LED Strip Lighting
-

Modern LED Lighting Ideas for Home Interiors


Latest comments